I’ve been running a vCenter 6.0u2 appliance (VCSA) since my home lab was built in 2016. Its been very stable, and with the issues of the early 6.5 versions I’ve been reluctant to upgrade. With 6.7 being released earlier this year, its finally time to get my home lab updated.
First up if you aren’t aware of what 6.7 brings to the table, have a read over the Introducing vCenter Server 6.7 blog post by Emad Younis.
The upgrade process is the same for all 6.x versions going to 6.7 but its always a good idea to check the VMware Product Interoperability Matrices to ensure your ESXi host version is supported being managed by the current VCSA version.
Considerations before upgrading
– Have you deployed an internal or external Platform Services Controller (PSC)
– Do your VM hosts have sufficient memory to allow running both your old and new vCenters at the same time while their configuration is migrated
– Is DRS configured and set to fully automatic? If so, you may want to modify this to semi-automated during the install process
Upgrade
1. Download the ISO for VMware vCenter Server Appliance 6.7.0c – VMware-VCSA-all-6.7.0-9232925.iso
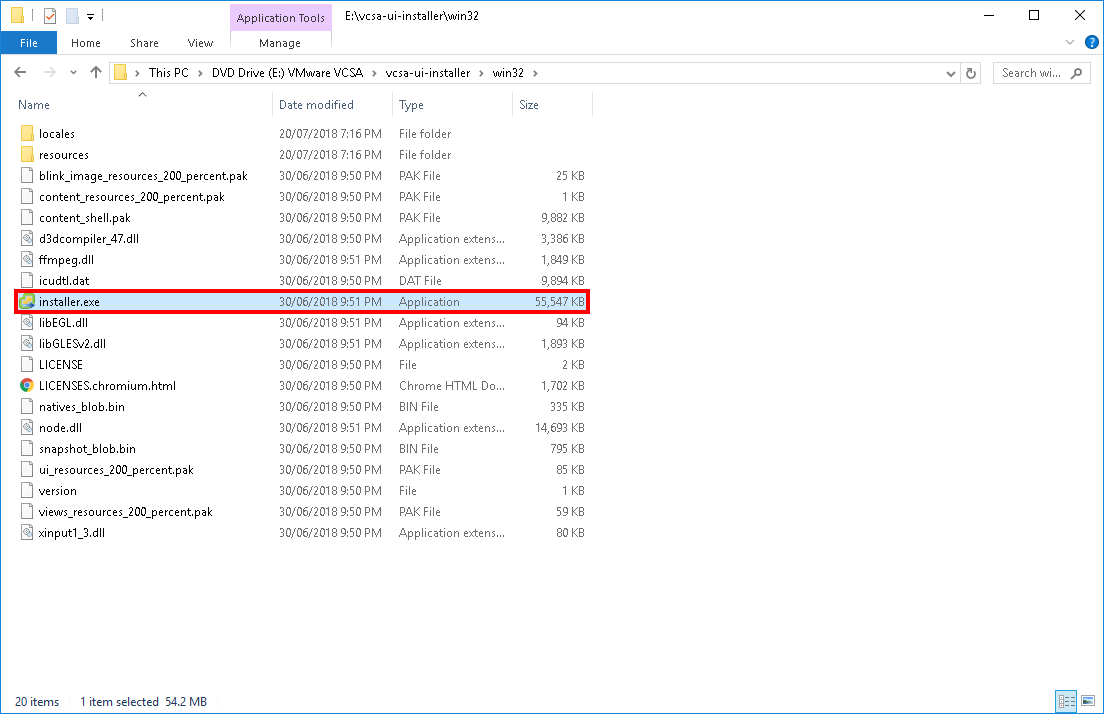
2. Mount the ISO from your workstation or deployment server and run \vcsa-ui-installer\win32\installer.exe
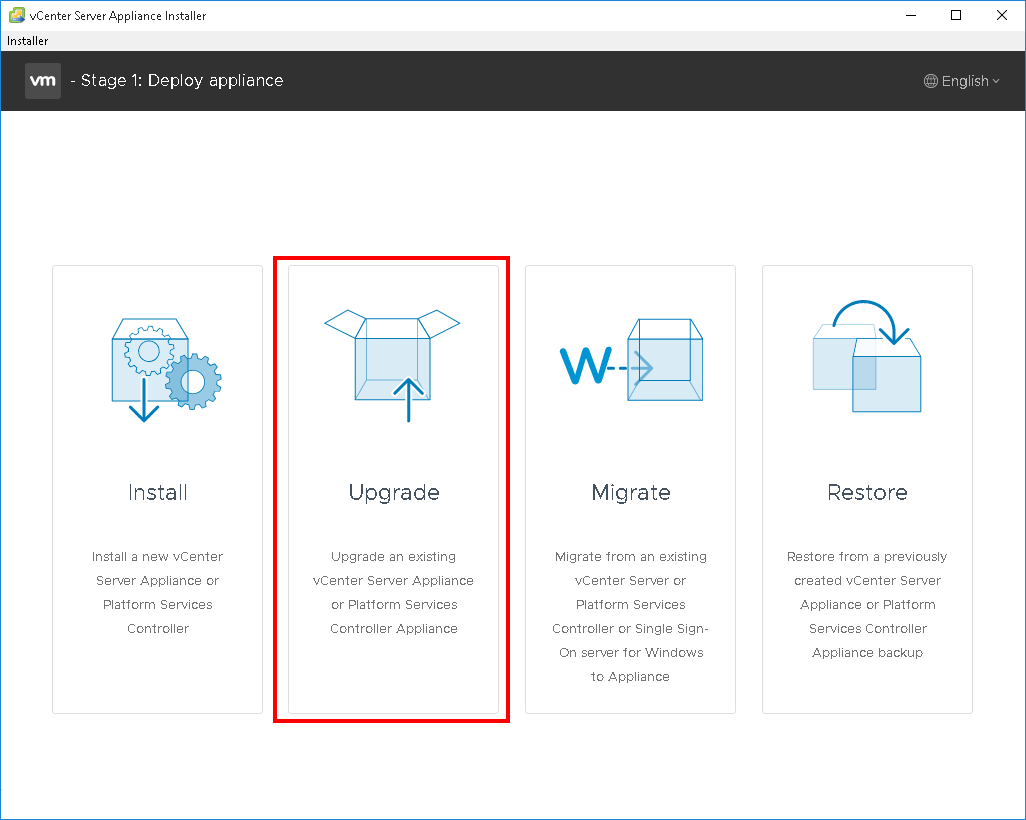
3. Select Upgrade
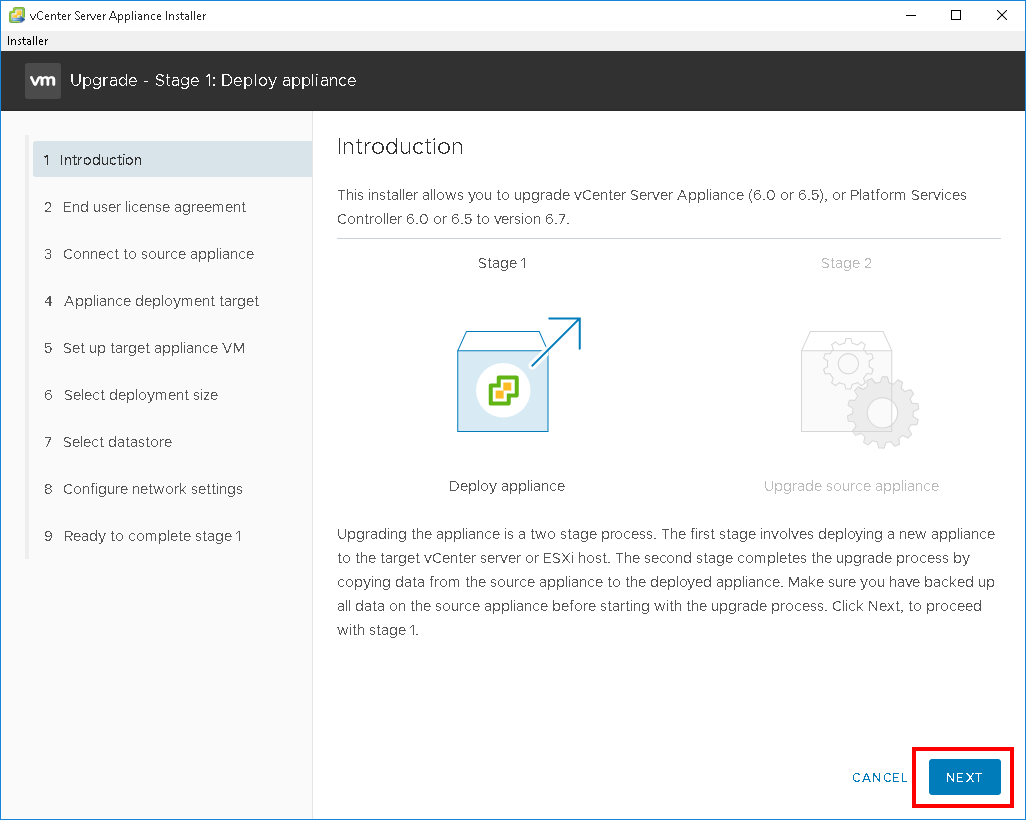
4. Review the introduction and click “Next”
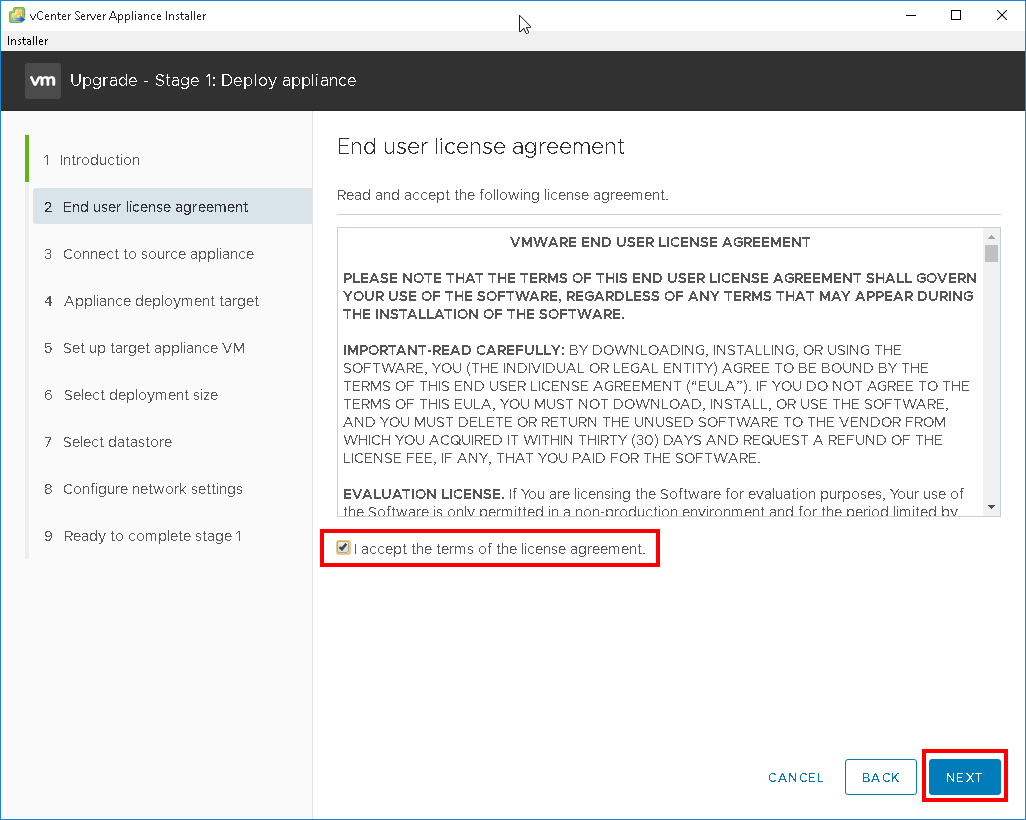
5. Read and accept the EULA then click “Next”
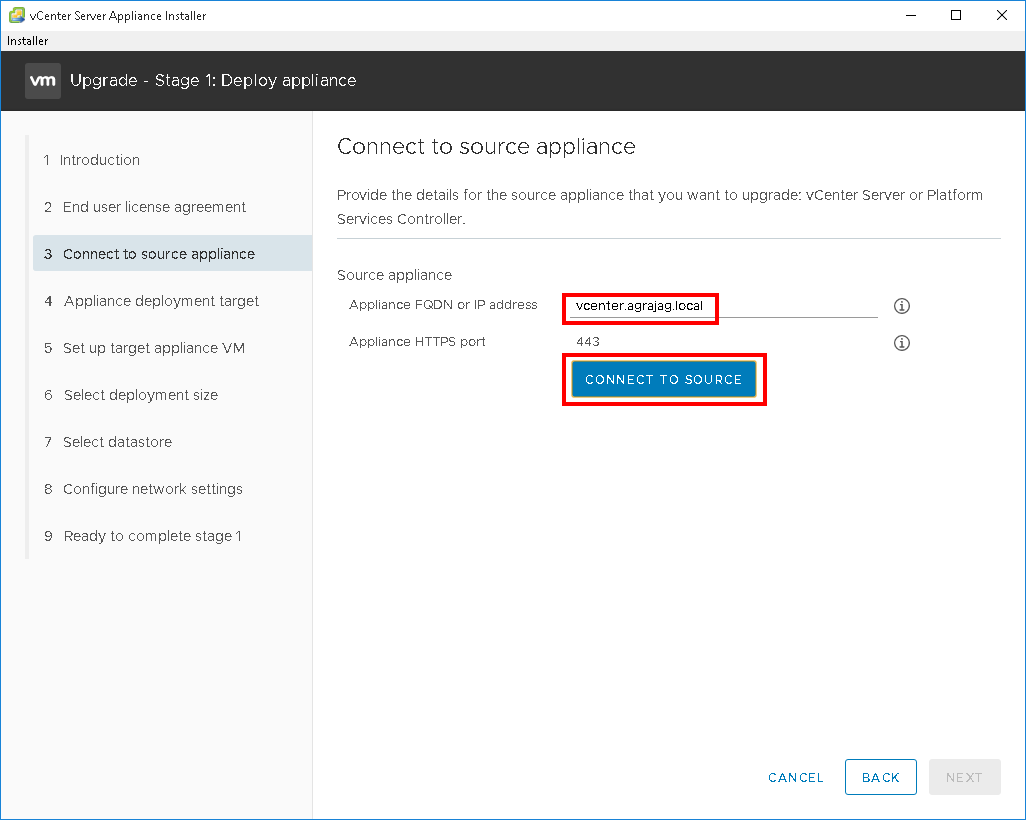
6. Enter the FQDN for your existing VCSA and click “Connect to Source”
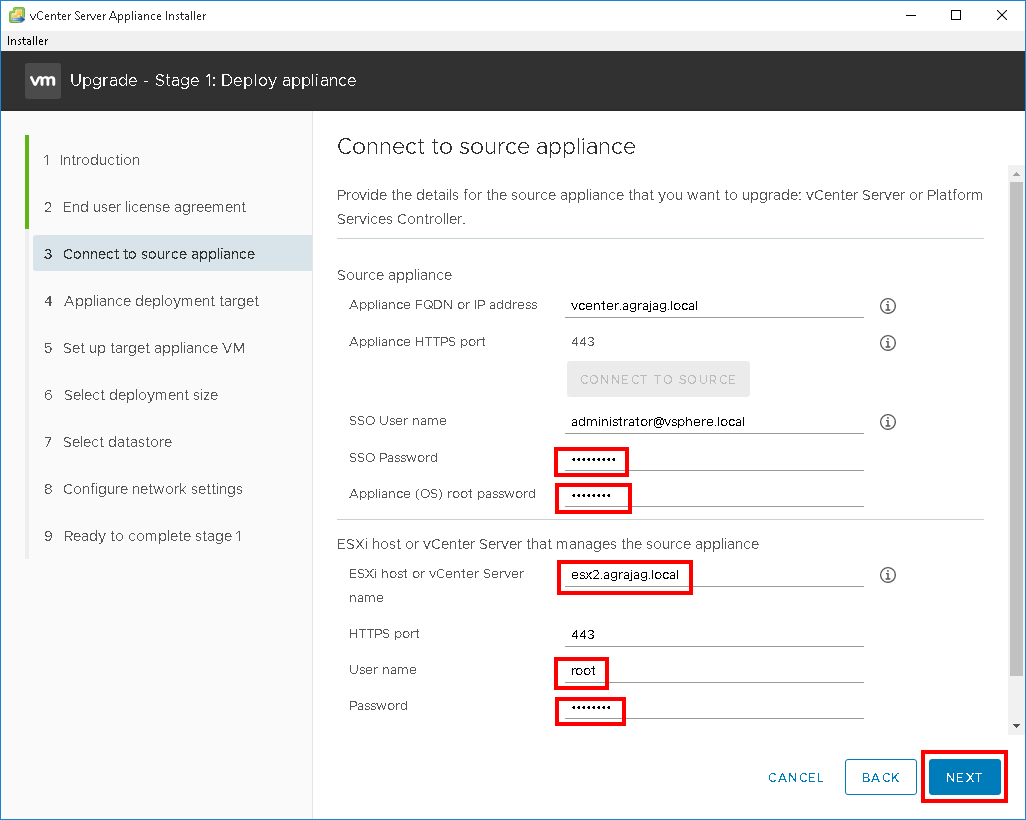
7. Enter your SSO password, appliance root password, FQDN for the ESXi host the existing VCSA is running on and the root password for the ESXi host then click “Next”
8. If you are using the default self-signed SSL certificate, verify and accept the certificate warning

9. Enter the host FQDN that you will use to deploy the new VCSA 6.7 appliance to

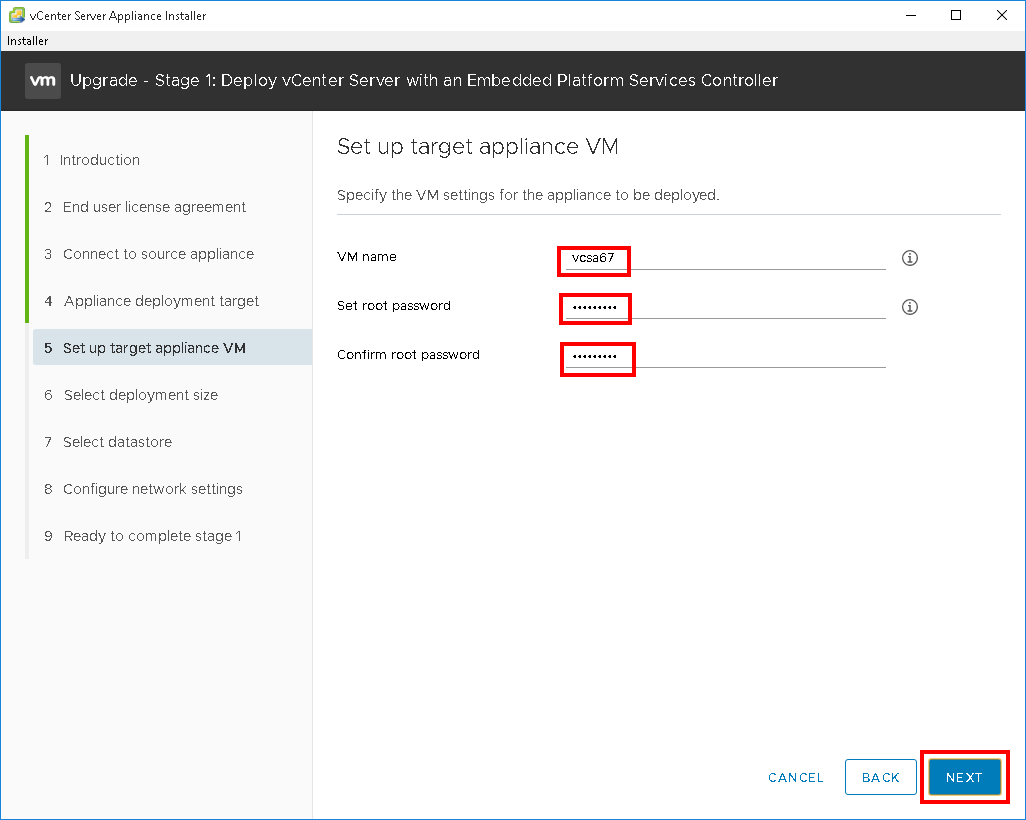
10. Enter the name of the VCSA 6.7 appliance and the root password it will be configured with
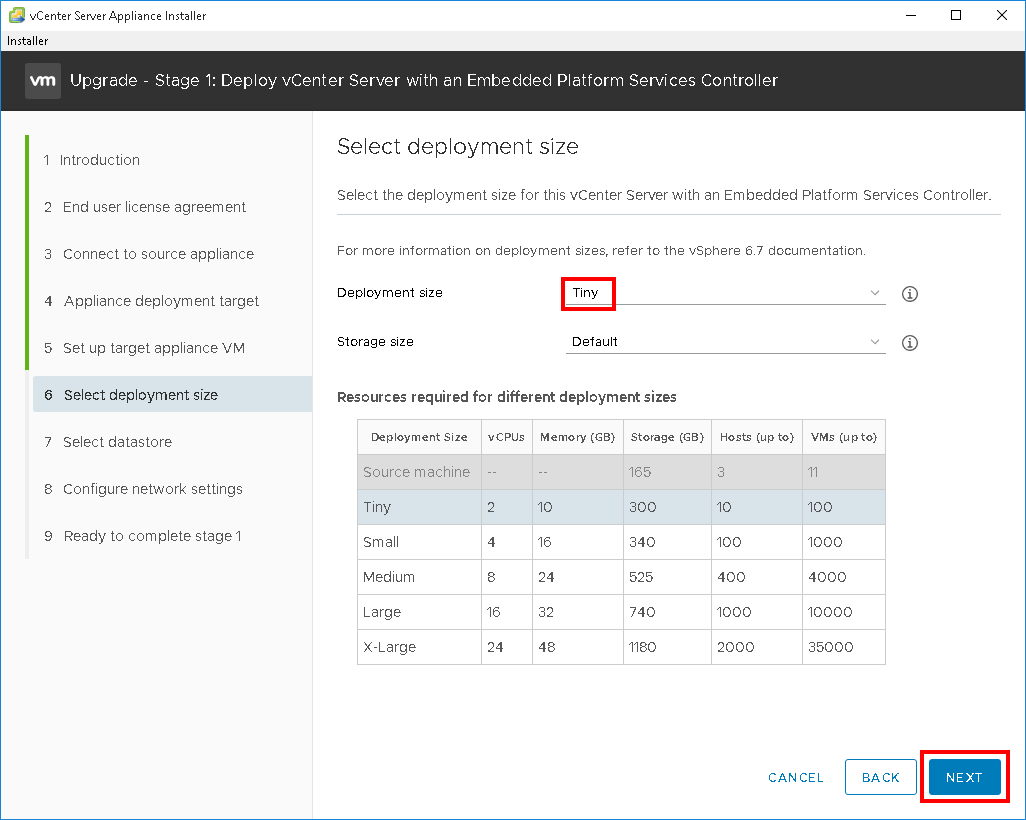
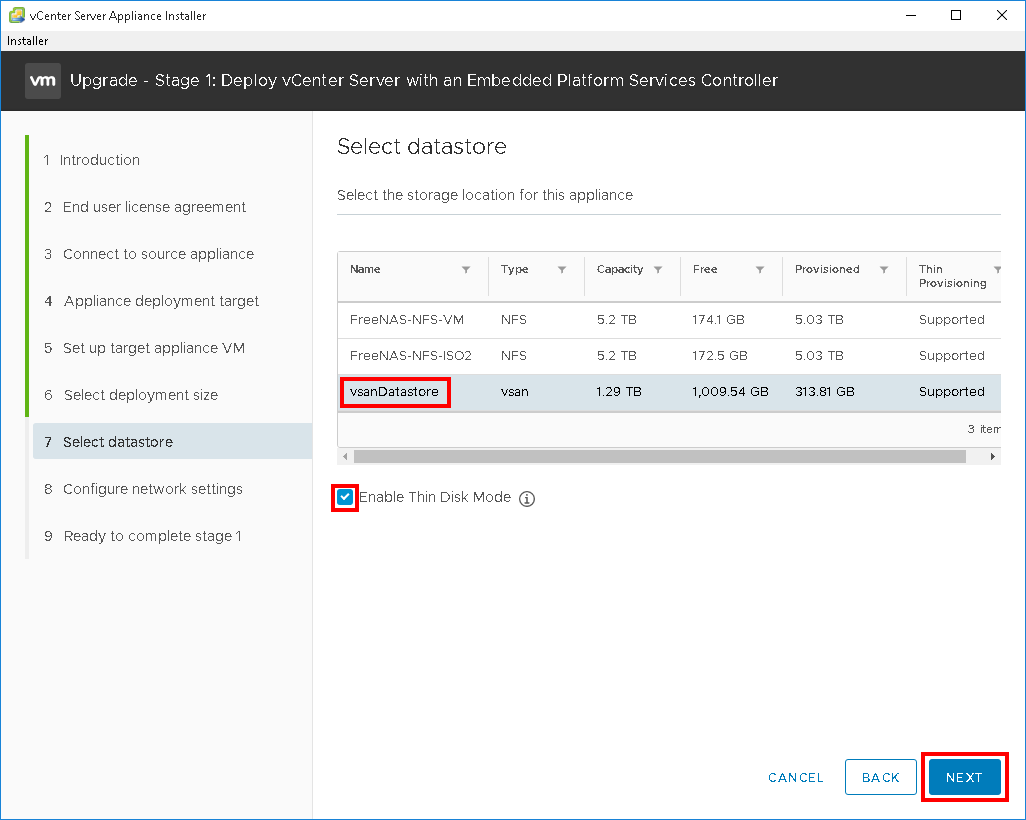
11. Select deployment size
12. Select datastore to put the VCSA 6.7 appliance on to
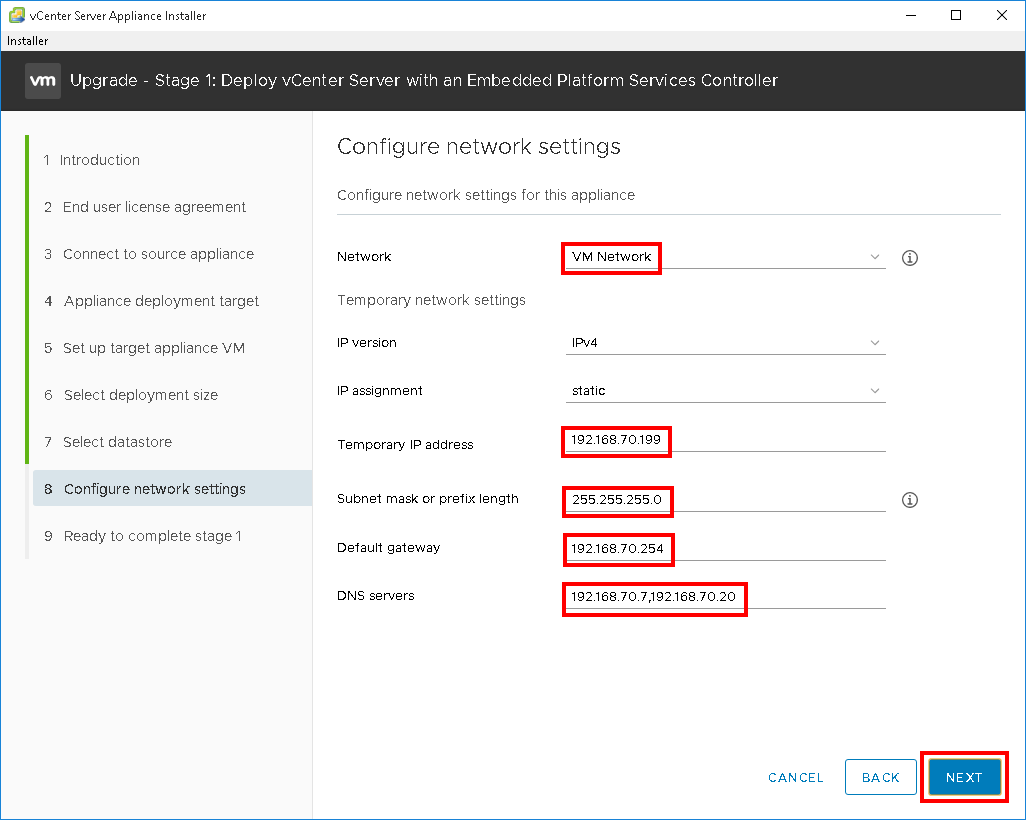
13. Enter temporary networking details for the VCSA 6.7 appliance. These will only be used to install the appliance and migrate data from your existing VCSA
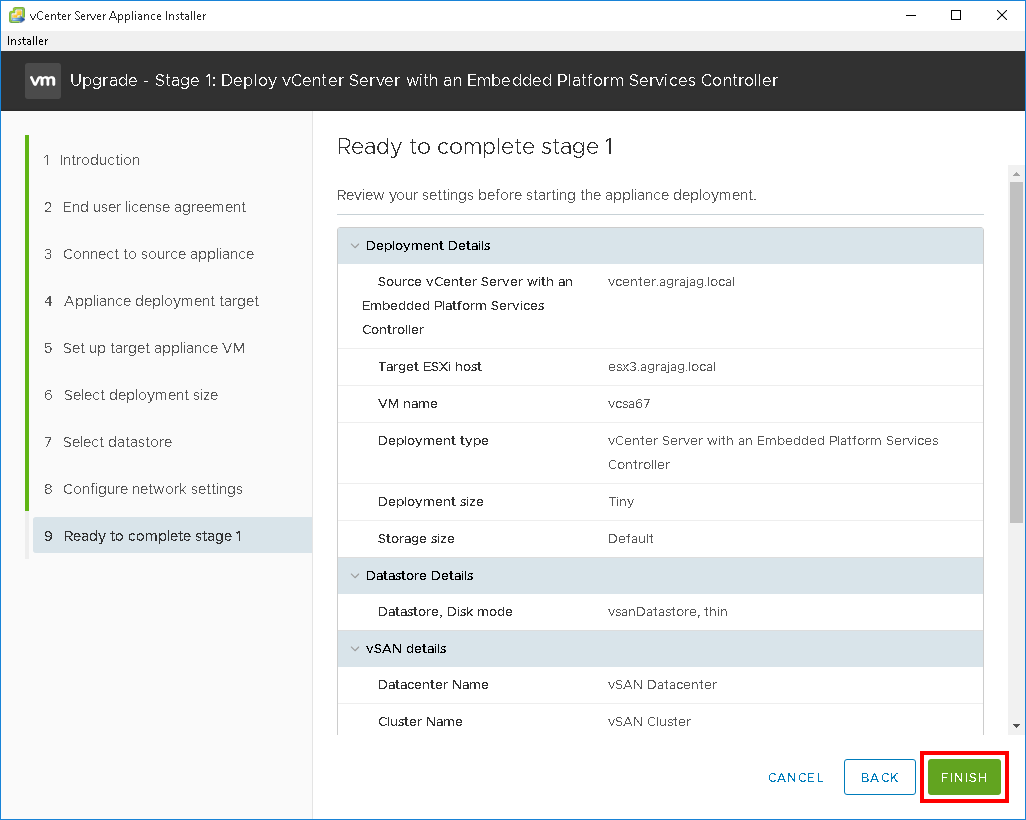
14. Review summary and click “Finish”
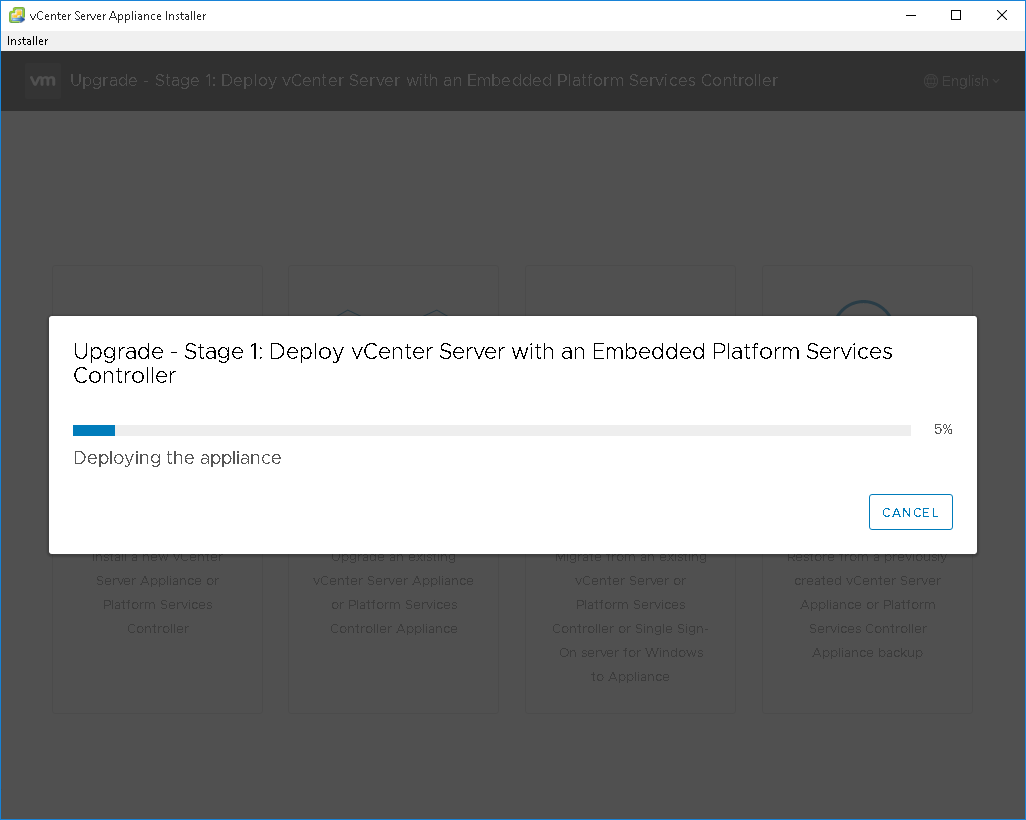
15. The appliance will now deploy
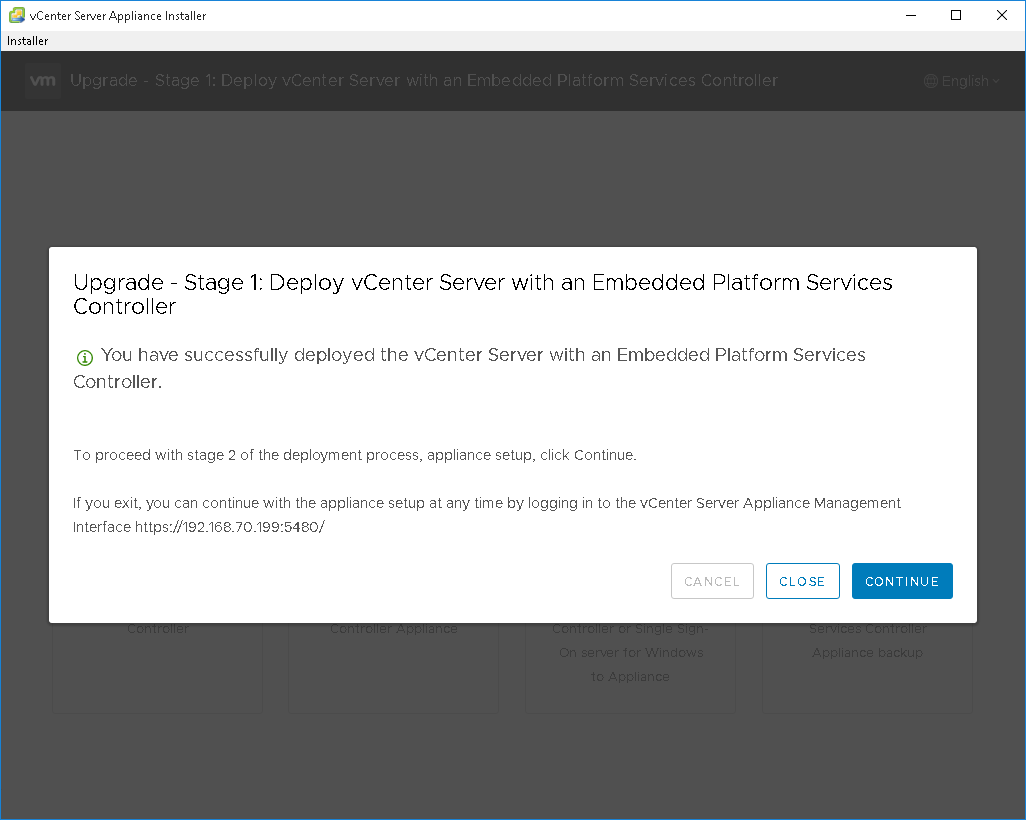
16. Success! Now lets click “continue” and start migrating data from the old VCSA
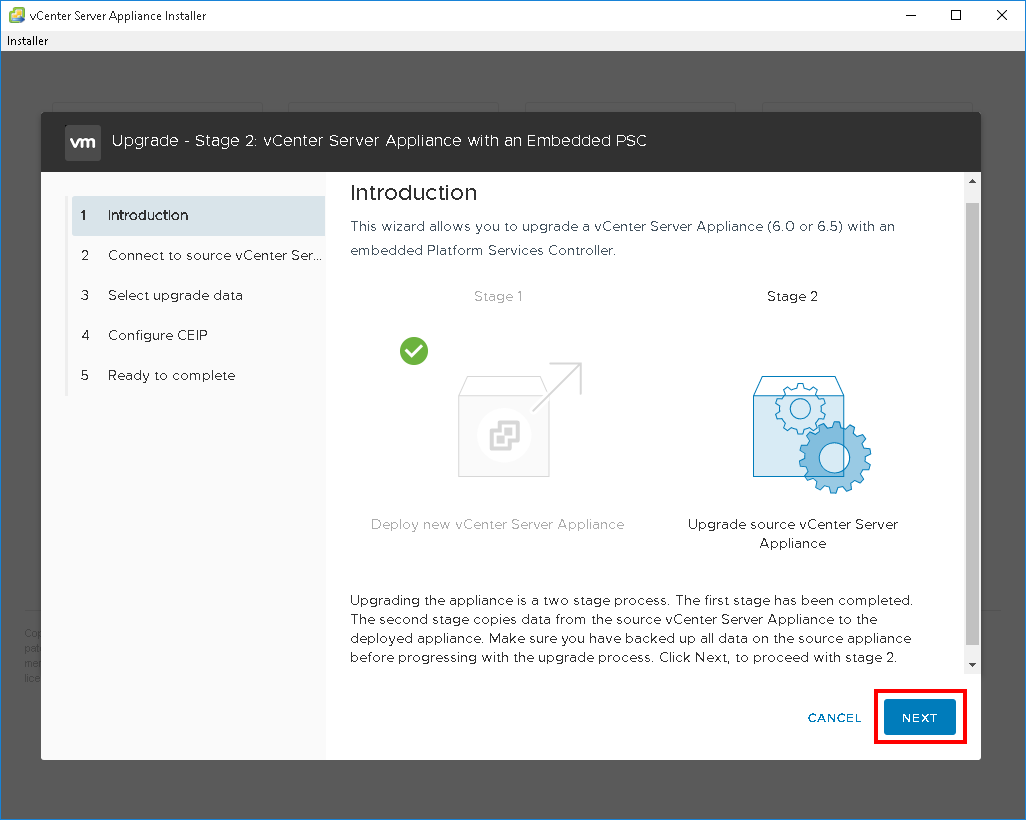
17. Read the new introduction and click “Next”
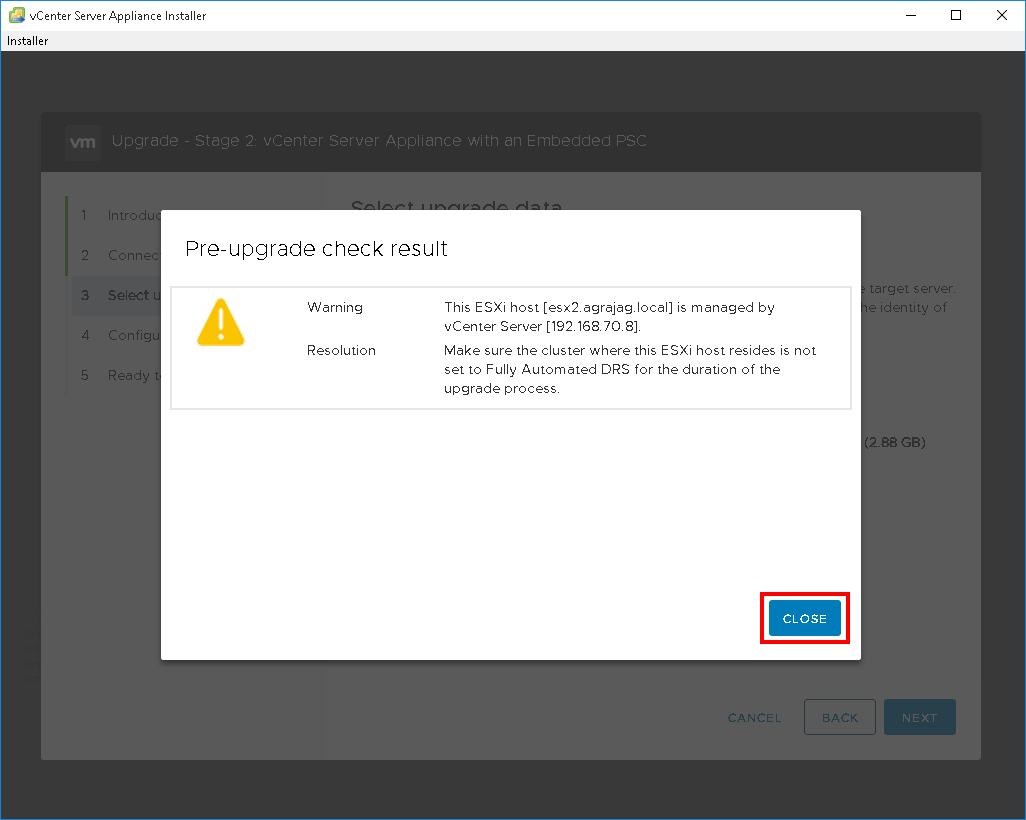
18. Pre-upgrade check results
19. Select what data to migrate. For my home lab I’ve selected just the configuration without any historical data

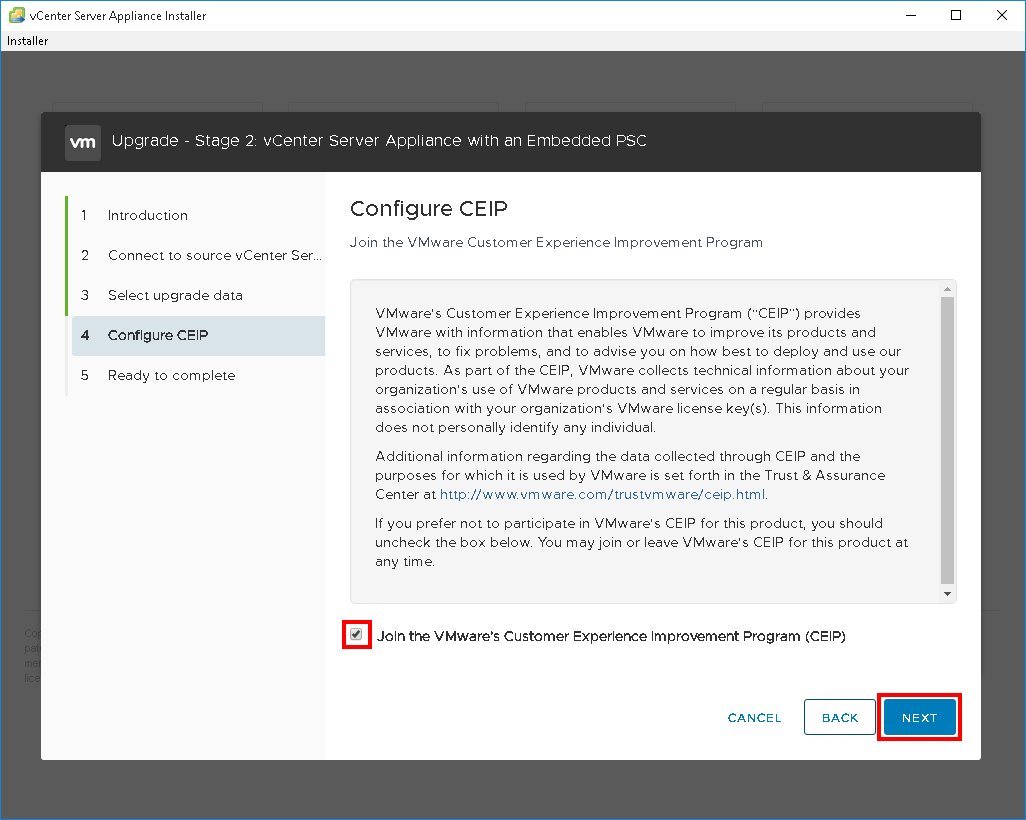
20. Select if you want to participate in the Customer Experience Improvement Program
21. If you have taken a snapshot or backup of your old VCSA, tick the box then click “Finish”

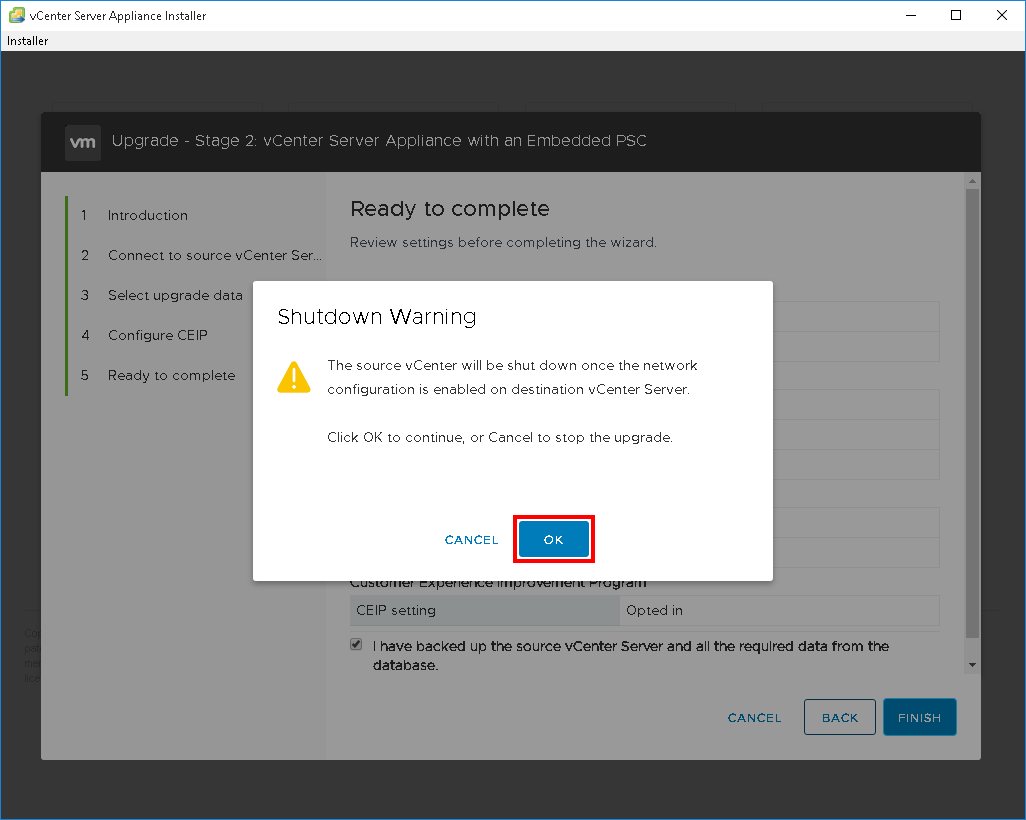
22. Accept the shutdown warning for your old VCSA by clicking “OK”
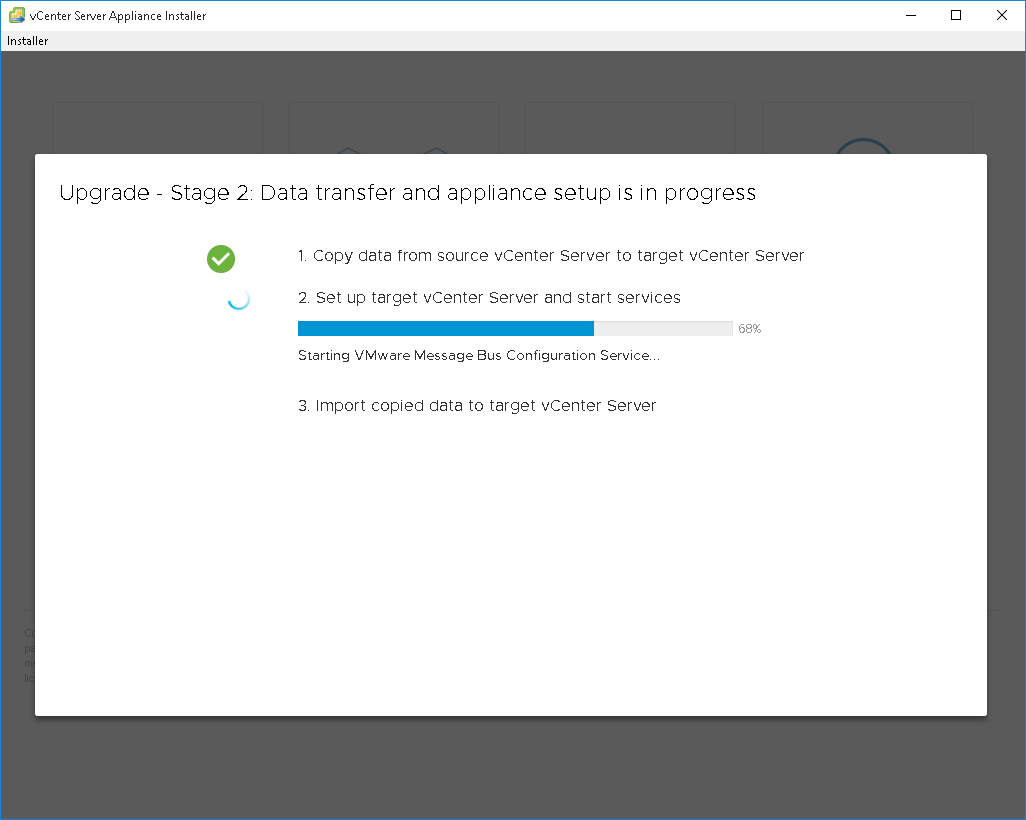
23. Data transfer underway
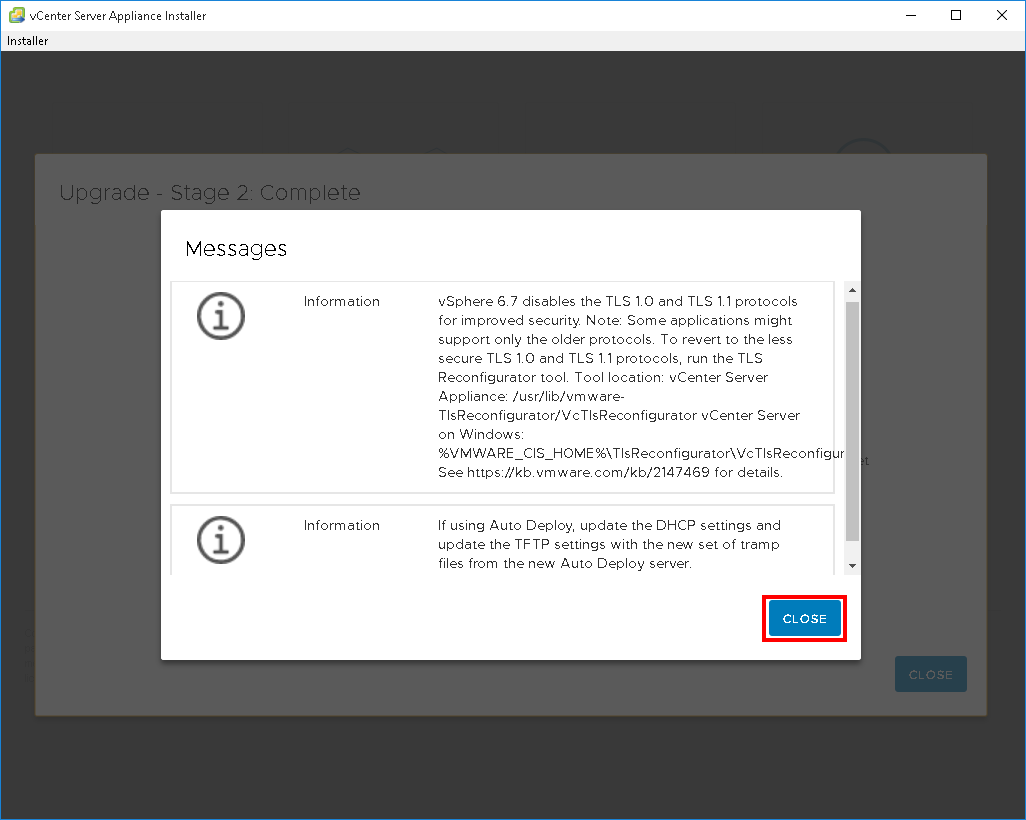
24. Once the data transfer has completed, you will be presented with any messages that might affect your use of 6.7
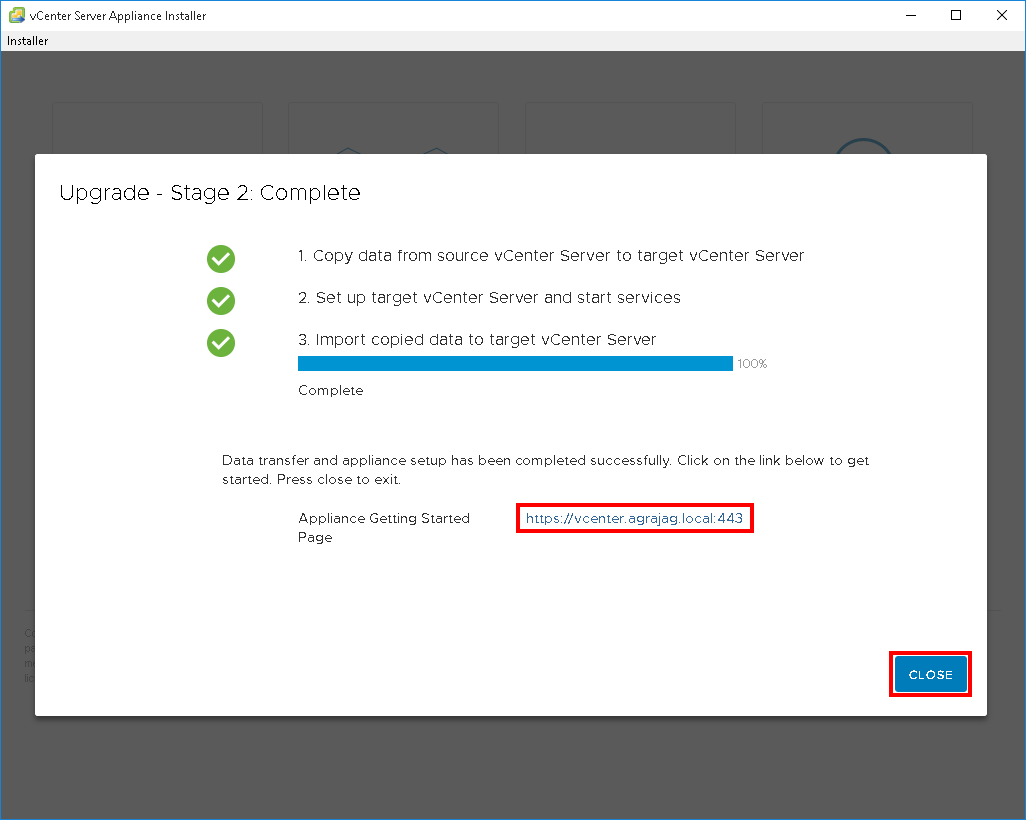
25. Done! Clicking on either the hyperlink or the “Close” button will open your default web browser to your shiny new VCSA 6.7
26. Don’t forget to re-enable DRS and remove any snapshots of your old VCSA